
About a month ago, as Covid19 started to rear its ugly head around South Korea, it was clear that a lot of time would be spent at home. As a landscape/travel photographer, I have to say I wasn’t pleased. I was at a point where having to work a 9-5 was finally no longer a restriction.
A couple of weeks ago, I wrote the issue “Take it Inside“. (Update, there are still no reported cases in my city.) For those of you who didn’t click the link to catch up, it lists the things that an outdoorsy photographer (myself) has done to continue to work his photography in the confines of his home office.
Task #1 was about reintroducing myself to product photography using the light box that my wife gave to me many many moons ago. That led to Task #2 which was building a lighting track spanning the entire width of my office and watching more videos on how to light products.
Watching these videos on how to use artificial light was truly inspiring. From the time I bought my first (and only flash) a Nikon Speedlight SB-800 shortly after my first digital camera- a Nikon D50- I could count on my fingers the number of times I actually used it.
Why drop $600 (at the time) on a flash that you’ll never use?
Well, when I got it, in 2006-ish I figured I needed one, and at the time, a person I looked up to had one, so I got one. After a couple of tries, the realization that working it was too complicated for my level, and the photos really didn’t look any better than the pop-up flash.
Instead of learning how to use it properly, I stopped using it
Fast forward to today. As I mentioned, watching some of these videos had inspired me and also taught me not to be so afraid of artificial light. In fact, he showed how much creativity one can have by controlling the light. That got me looking at actual studio lighting systems: strobes, soft boxes, clamps, stands, foam boards, gels, and backgrounds.
As is pretty much with everything I do, I usually look to get used items first to work with so that if for any reason, I want to move on and not pursue something, the cost is lower. If it’s something I enjoy then I will look at saving up and upgrading the equipment. (In hindsight, I think the SB-800 flash is one of the reasons I do this now.)
Trying to Find Used Studio Lighting in Korea is Difficult*
The first day I scoured the secondhand selling site there was a great deal on a set. The problem was having to travel 400km to go pick it up in one of the biggest covid19 infected areas. So that was a pass. Unfortunately, the only other posts that I’ve seen since have been from the same seller, and the prices aren’t nearly as good. I might as well get a new set. It’s not that I don’t have the money. If I was to make a few adjustments, it could be done fairly easily. I just don’t want to make that kind of investment just yet.
So, What to Do?
The next step if I can’t buy used and I don’t want to buy new is naturally:
“Let’s try to make something just to see if it works.”
The first thing on my list was a strip box. Now admittedly, strip boxes themselves are much cheaper than I thought they would be. The problem is that I don’t have a stand nor a strobe to put in them. So what could I do?
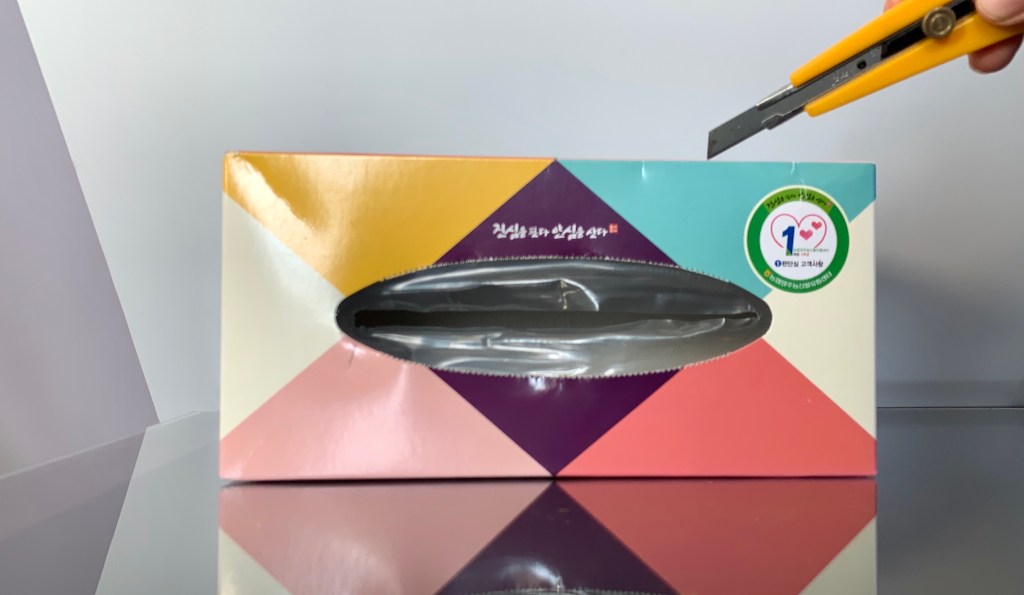
The answer: tissue box!
- I took a used tissue box and cut the top off.
- I traced the end of my flash onto the back and cut a hole.
- I then took a used parchment paper roll box (think aluminum foil box) and cut the lid off.
- I then cut that lid so that the pieces were a little longer than the length as the tissue box.
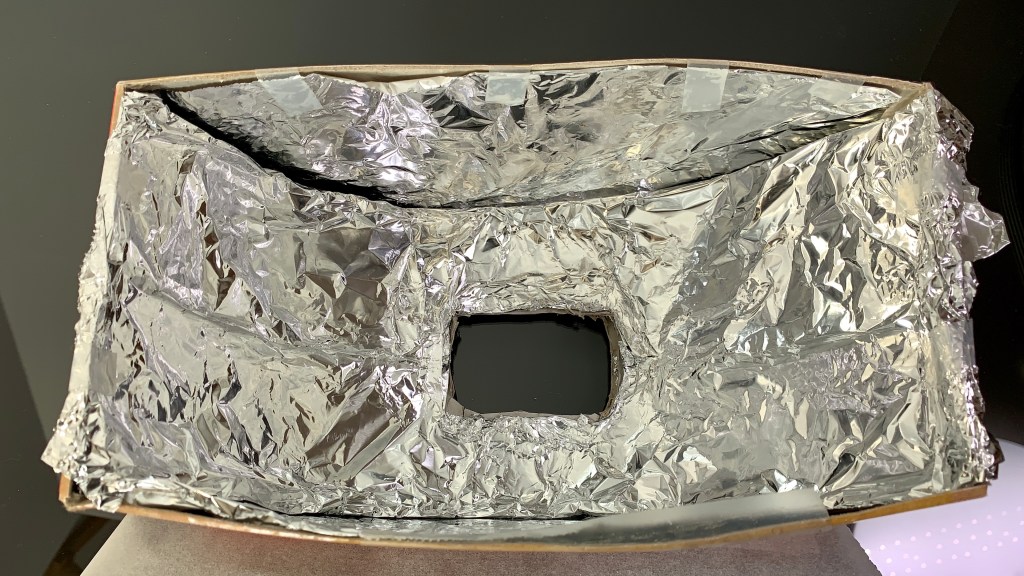
- I covered those pieces in aluminum foil.
- I lined the inside of the tissue box with aluminum foil.
- I put the pieces in the tissue box so that it was curved.
- Cut a hole through those pieces so the flash head should get through.
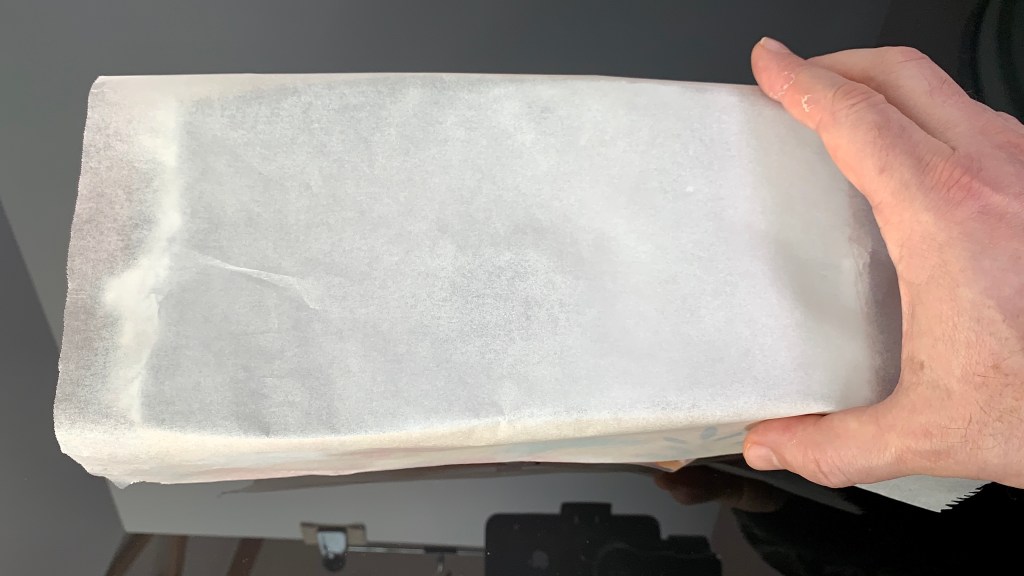
- Covered the top of the tissue box with parchment paper (or paper cooking foil as it’s called here).
- Voila!


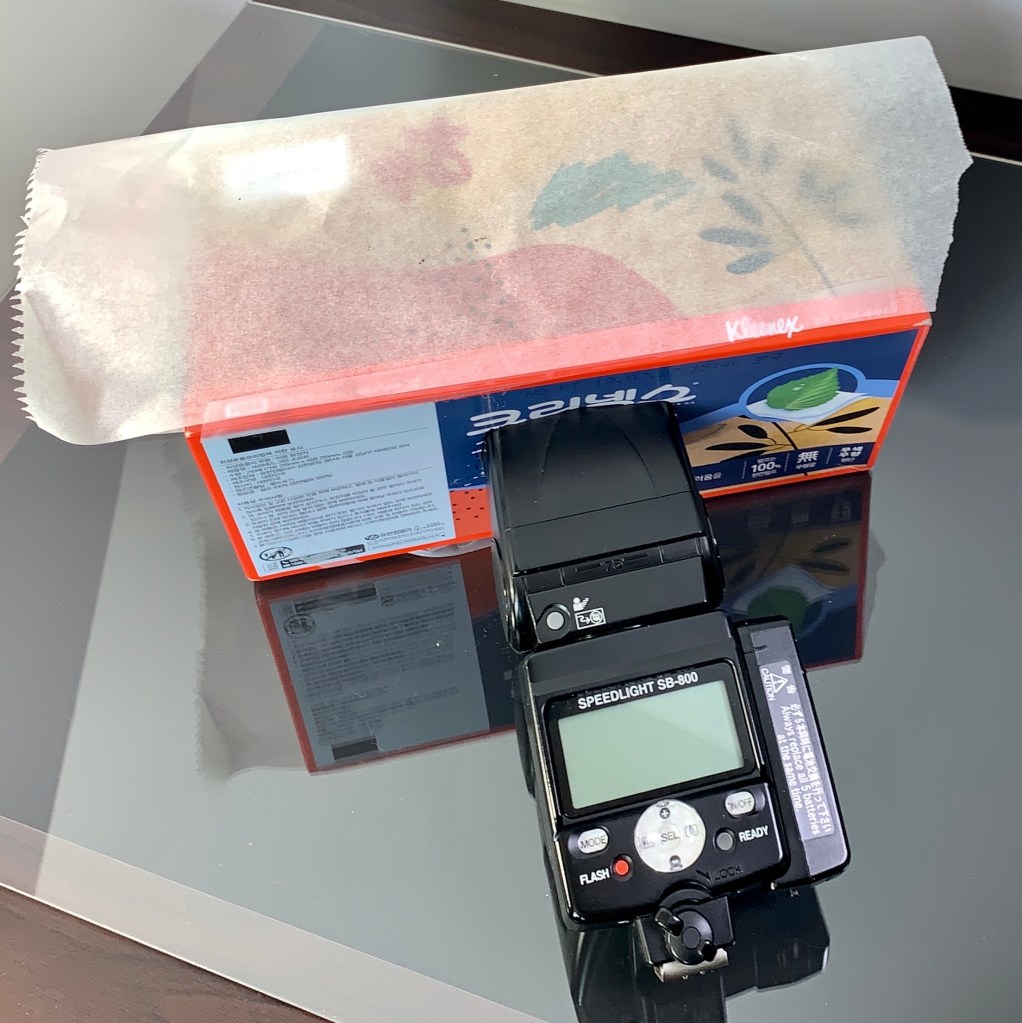
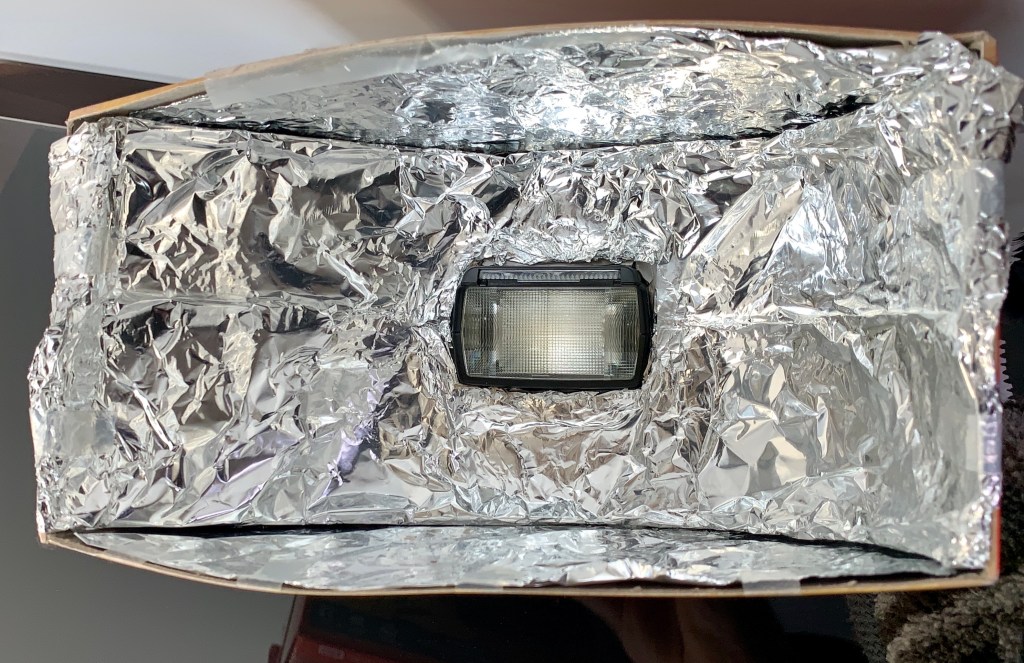
I then realized that the paper cooking foil box which is skinnier and longer might be better, but that will be for another day.
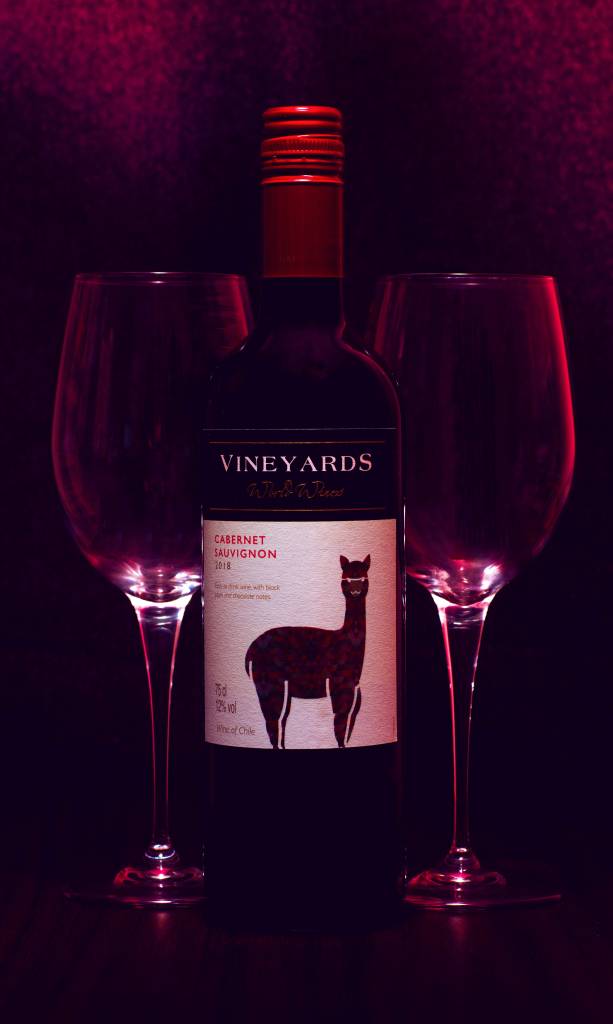
Right from the start, I have to say, I was very happy with the results. I was practicing with a wine bottle that’s been in the house for a long time. Using a reflector hanging from my lighting track and hand holding the flash with the new strip box led to some really fun times.
Next Up
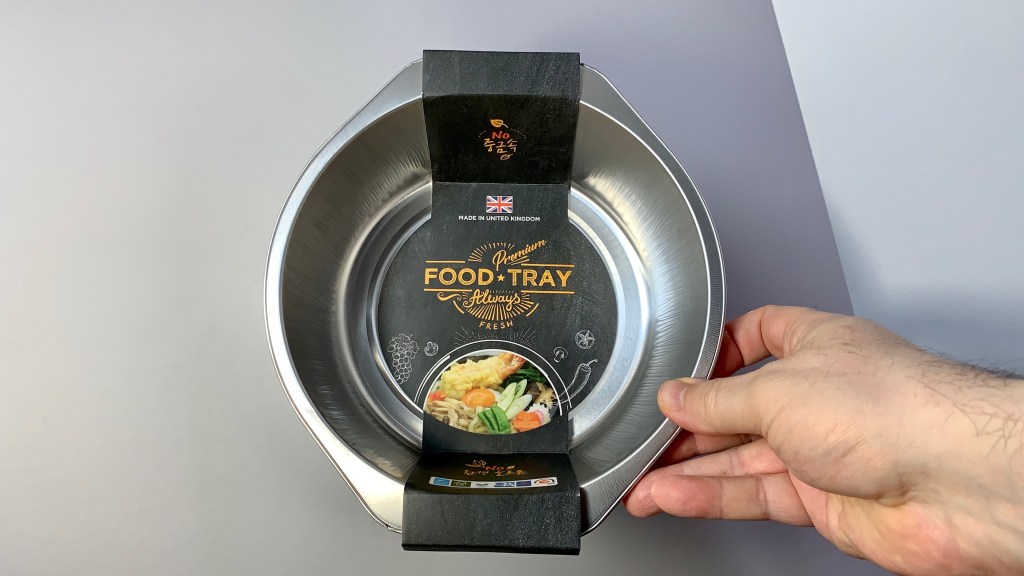
While shopping I found an item at the grocery store. It was a make your own stew kit. The one where they give you all of the ingredients and you put it together at home. This one came with a beautiful thin aluminum bowl. Which got the motor running. I could use this as a reflector dish! We didn’t get it right away because we had to go somewhere else, but made a note to go back the next day to get one.
Next day, it was sold out. Back to the drawing board… Wait, what about the baking section? Surely they have pie dishes that might work. A trip to the picnic/baking section proved to do well. There were disposable cake pans which were deeper than the average pie pan. Then I saw these white plastic picnic bowls. Then that got me thinking of a honeycomb. I figured drinking straws would work. My biggest question was how was I going to join the straws together without using glue.
- I used 100 drinking straws (I probably could have and should have used more, but they were sold in packs of 50, and I didn’t want to buy 3).
- I cut the straws into fifths.
- I got some electrical tape and lined them perpendicular with the tape.
- I then rolled the tape with the straw pieces into a big honeycomb.
- I used some cardboard as a frame for the honeycomb.
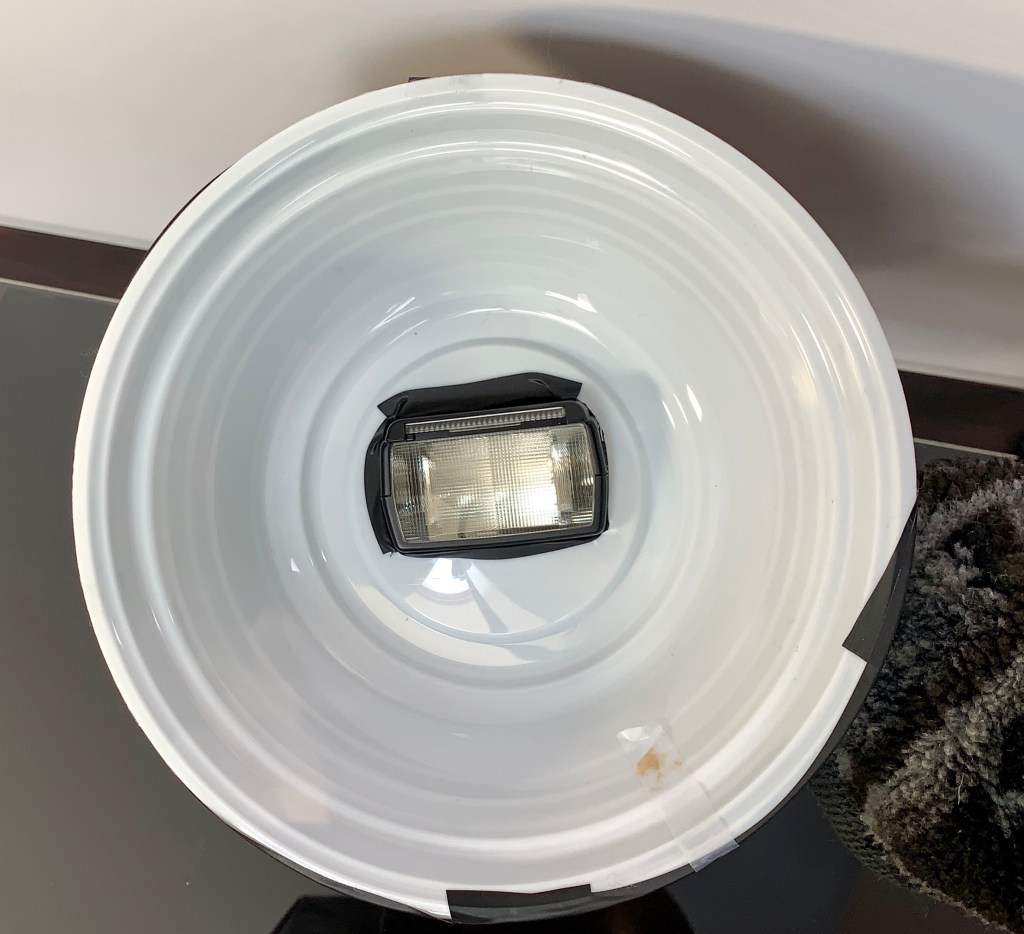
- I traced the flash head on the white plastic bowl and cut.
- I realized after a couple of test fires, the white plastic was spreading too much light from the back.
- I then found and cut an old black-lined grey shipping plastic pouch and used the electrical tape to cover the back.

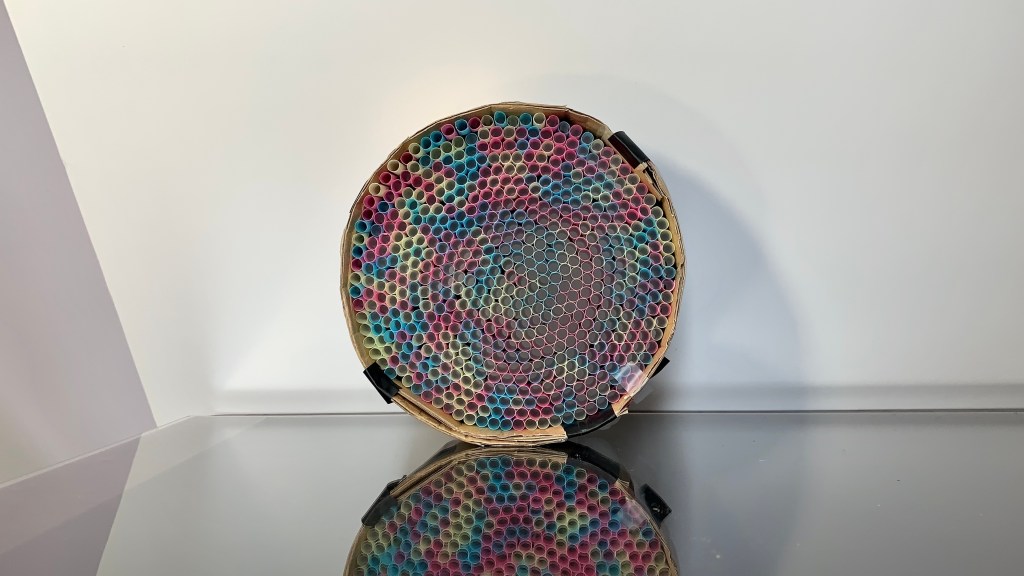


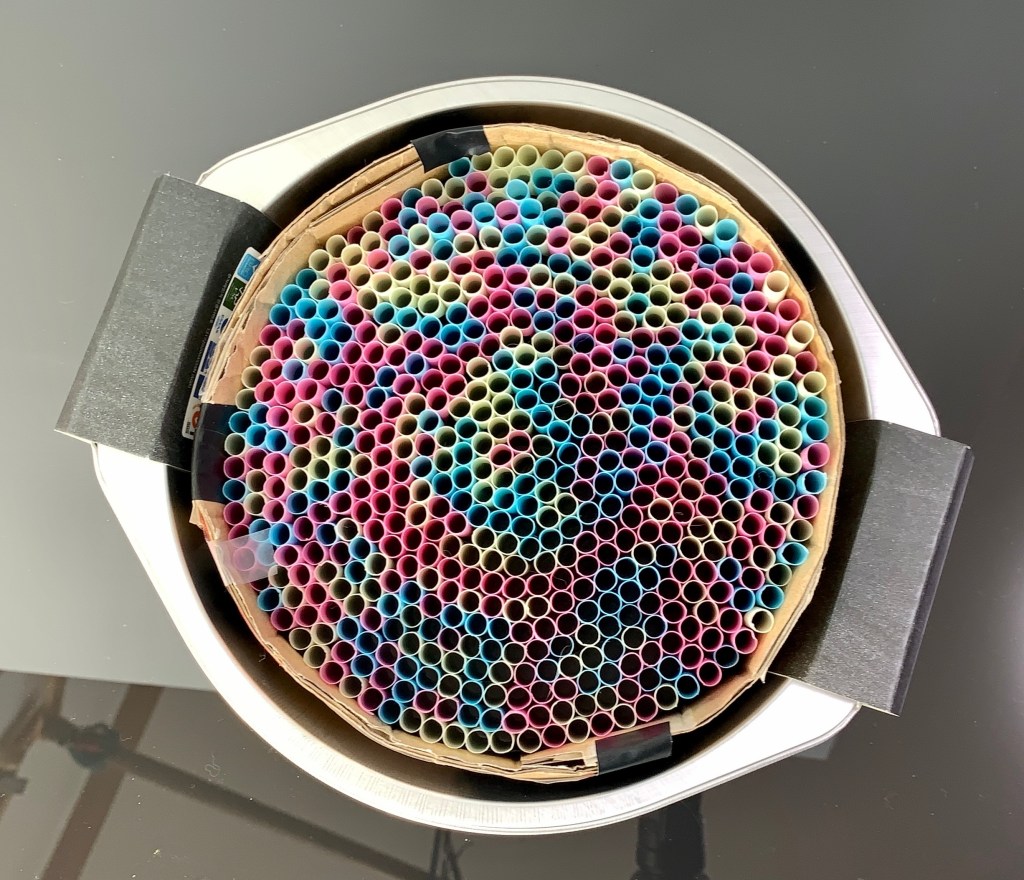
The whole process was around 8 hours including meals and breaks. Cutting the straws at the beginning was the time eating part, until I found a way to streamline the process.
The coloured straws were a bit of a worry, as I wasn’t sure that the colours would splash out with the light. After a couple of tests, I really couldn’t see much of a colour effect. Success!
Now that I had the lighting, I went to the local school/office supply store to pick up white and black foam board (the black was too glittery so I settled on 3 sheets of paper), Plexiglas to put on my table so I could get some reflection, and a large white sheet for a backdrop. (One piece of advice from the videos I watched was if a person was to get only 1 backdrop, make it white because if you shoot it at different distances from the light you can change the colour from white to grey to black, and it is also easier to cut out to import another layer).
After a not-so-quick trip to the flower market to get some props I came home and was able to get some shots that I’m extremely happy with.
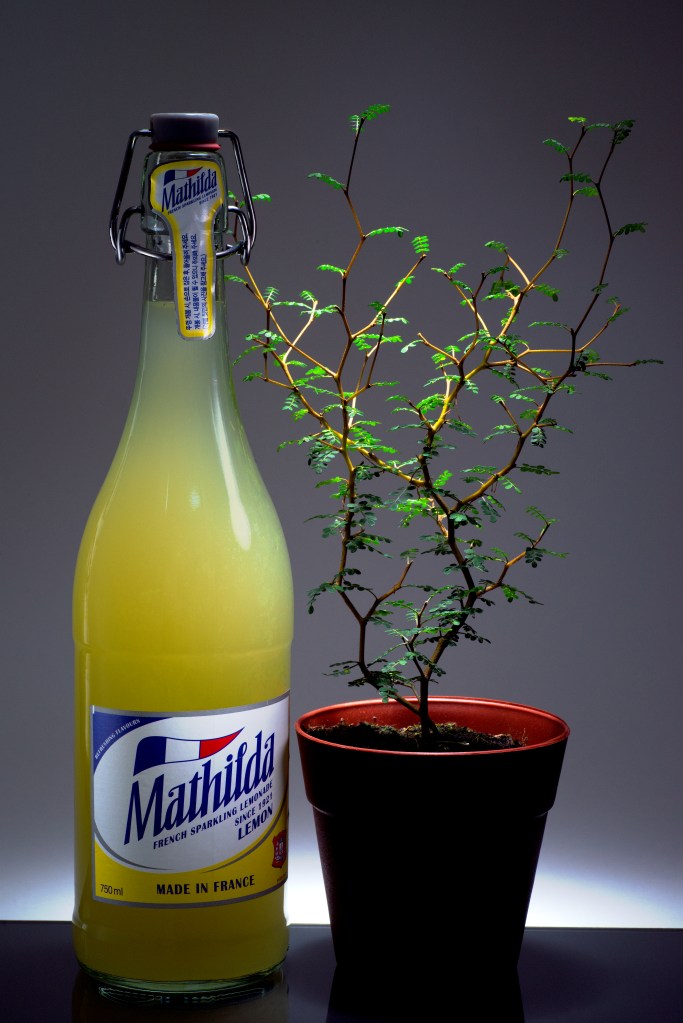

Not only that, I’m also finding that I’m rather enjoying product photography much more than I could have ever imagined. Just like starting out in landscape, it becomes practise, practise, practise, but with this it’s also open to a lot more experimentation.
Keep learning and expanding!

Leave a comment