

2 weeks ago, I made a post about the do-it-yourself (diy) studio lighting that I did to keep me busy, but also to help me learn more about how to use artificial lighting in a home studio setting.
I posted some results from those shots on the subsequent post as well as on Instagram and Facebook. For the better part of those 2 weeks, the fact that the straws were multi-coloured seemed to have very little if any effect to the final versions of the shots…
Until …
I did one shot perpendicular with a glass that I had big expectations for. It looked fairly good on the camera. It was the one shot I was expecting the most from and was going to be the centrepiece to that day’s shoot. Until I saw it on the computer screen. The colours of the straws were reflecting off of the glass and were – with my editing skillset – an impossibility to eliminate with my photo editing software.
Back to the Drawing Board


I had thought at first, “Well, let’s not do that type of shot again.” As a person trying to improve to the point of landing product photography clients, this type of thinking will not cut it. Having to sacrifice quality because I didn’t want to make a new one is a horrible idea.
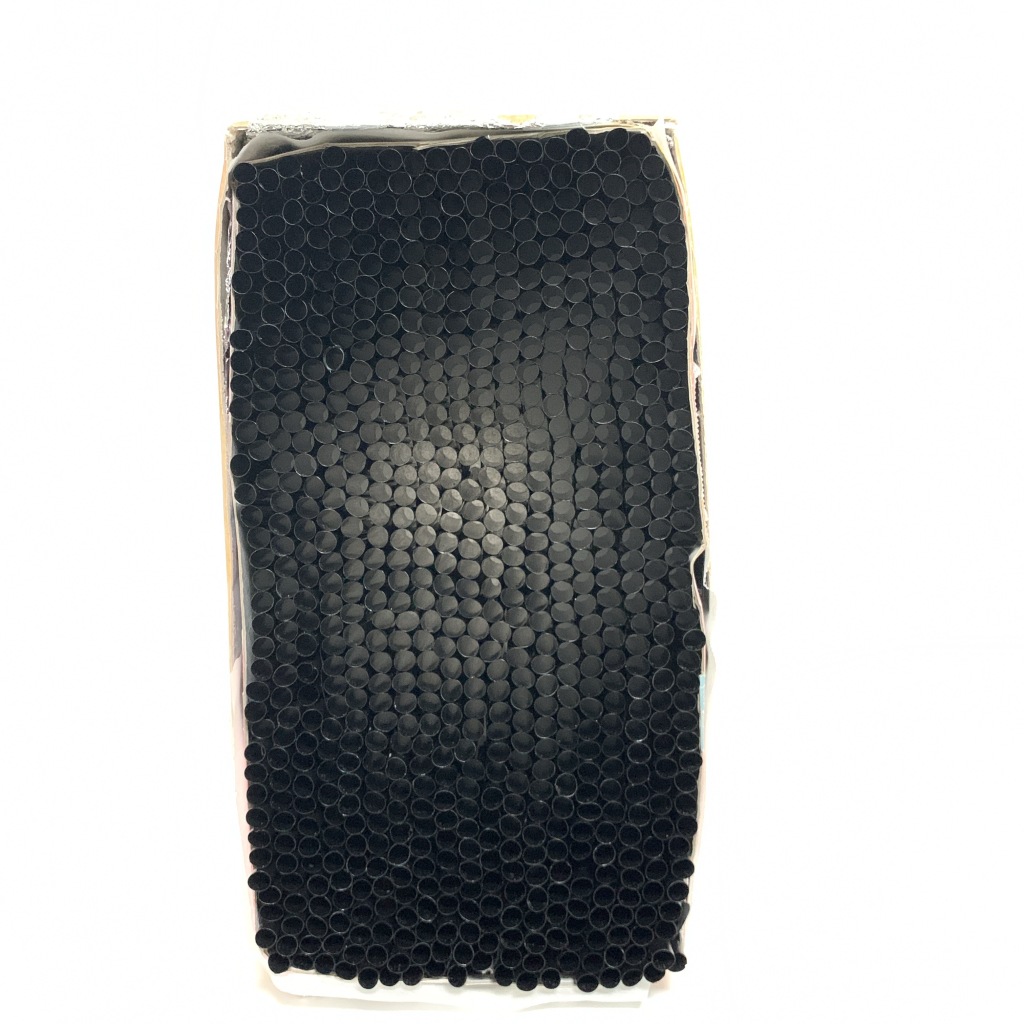
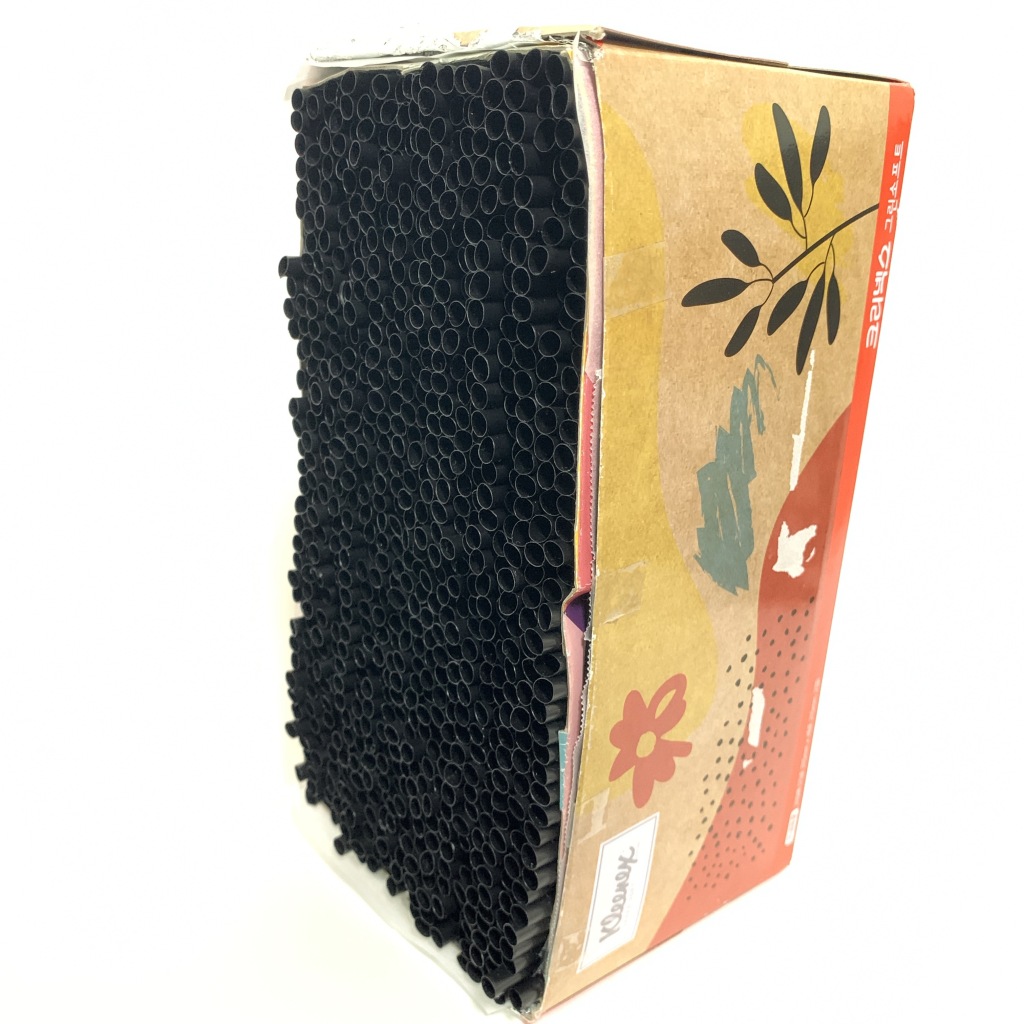
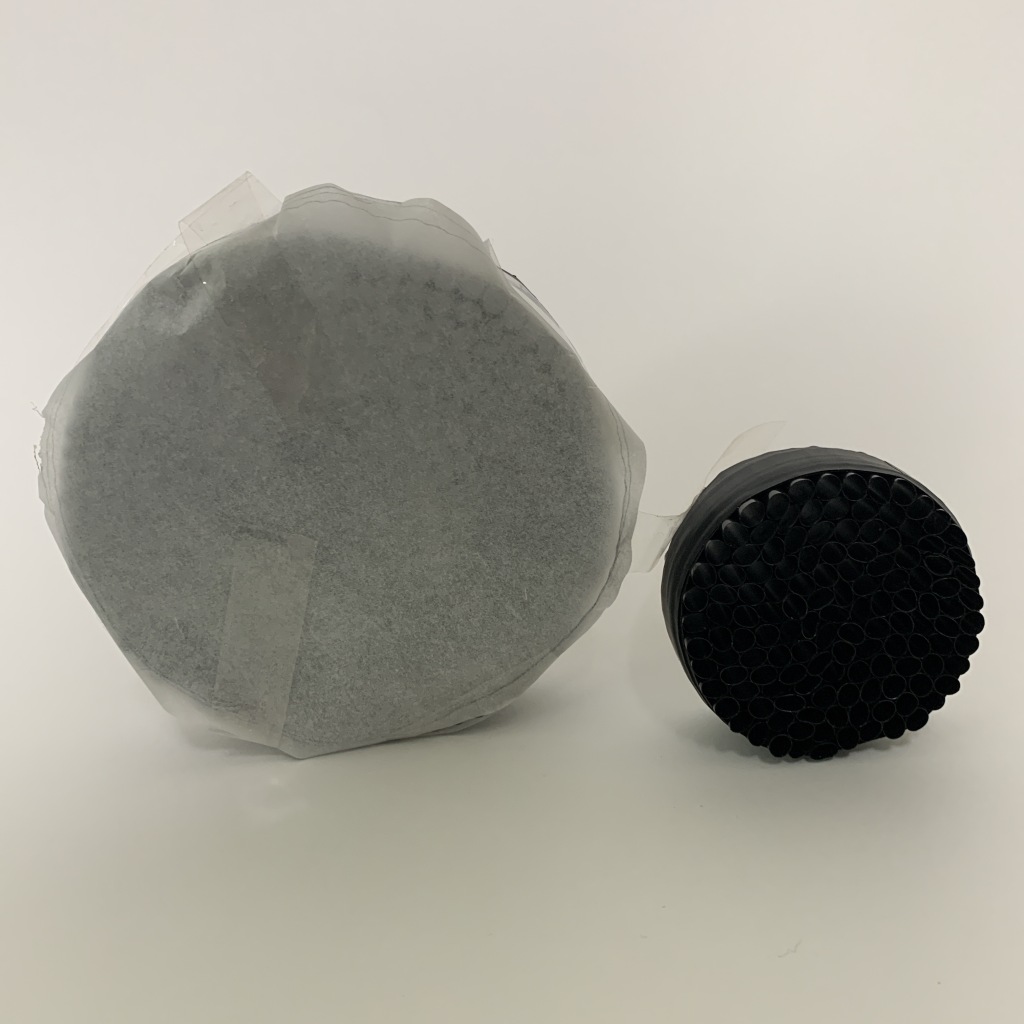
Out to the stores. Store after store, coloured straws, coloured straws. No one even sold all white straws. But as luck would have it, a last ditch “Hey let’s take a look here, it can’t hurt to try,” unveiled a jackpot. Not only did they have packages of straws that were of one colour, that colour was black!


It also provided the chance to select different sized bowls for the reflection dishes.
Knowledge is Power
My wife was more than generous in helping with not only the cutting of the straws, which took the most amount of time the first go of it. She also strung them on the tape to make the honeycombs for the bowls.
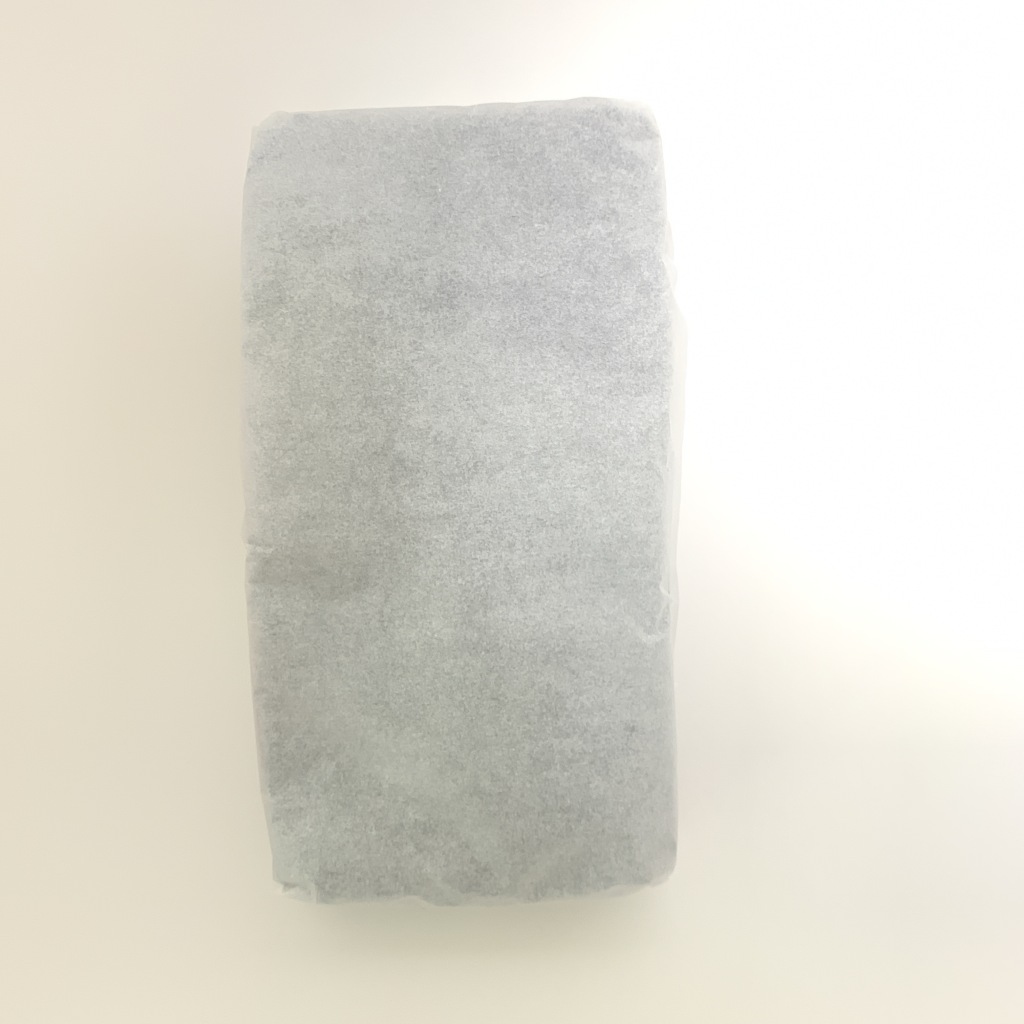
I had bought many more packages of straws this time because I also wanted to make one for my makeshift strip box. Knowing what I could do with the strip box and the parchment paper as a diffuser, I wanted even more control over that light.


My wife had finished the one for the bowl. I had thought that if I was to attach another bowl and cut a small circle at the bottom and join them top to top, I could make a type of snoot. So she made a smaller honeycomb for the (UFO) snoot.


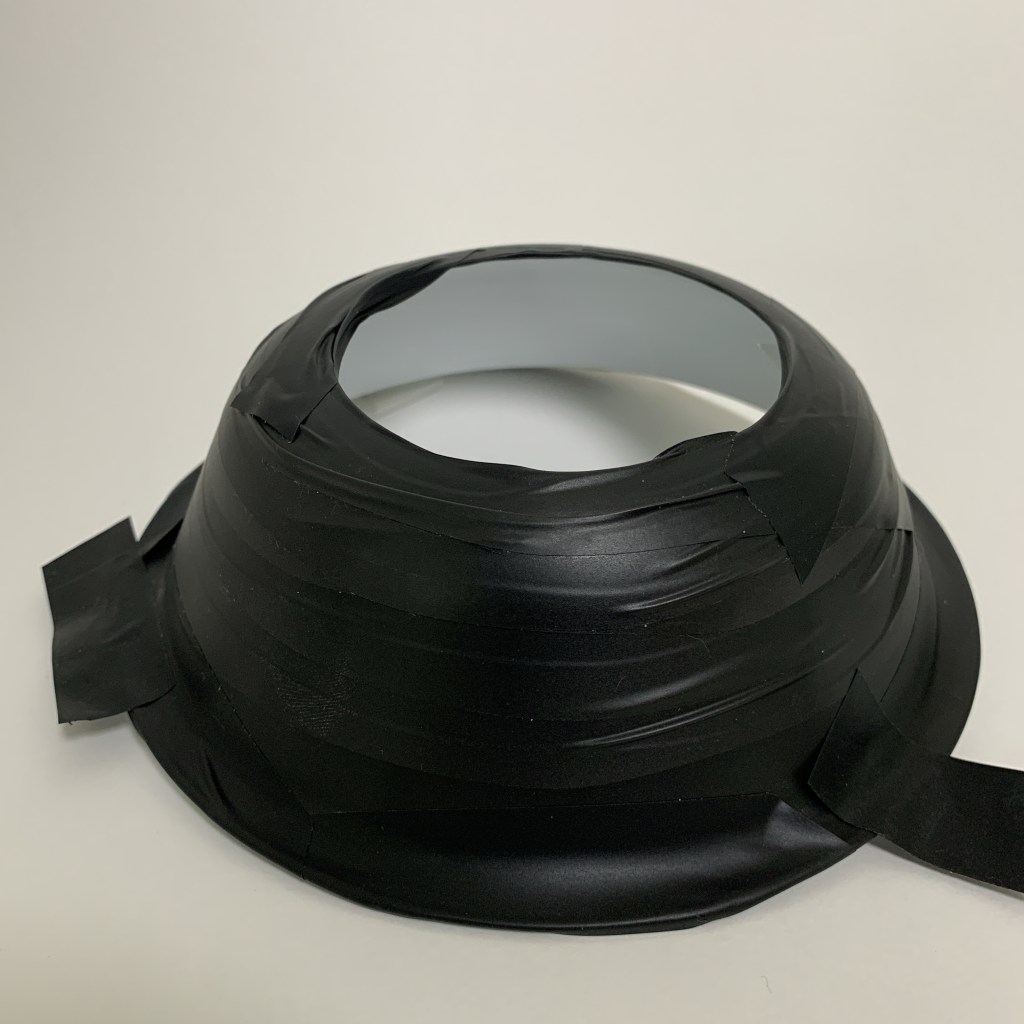


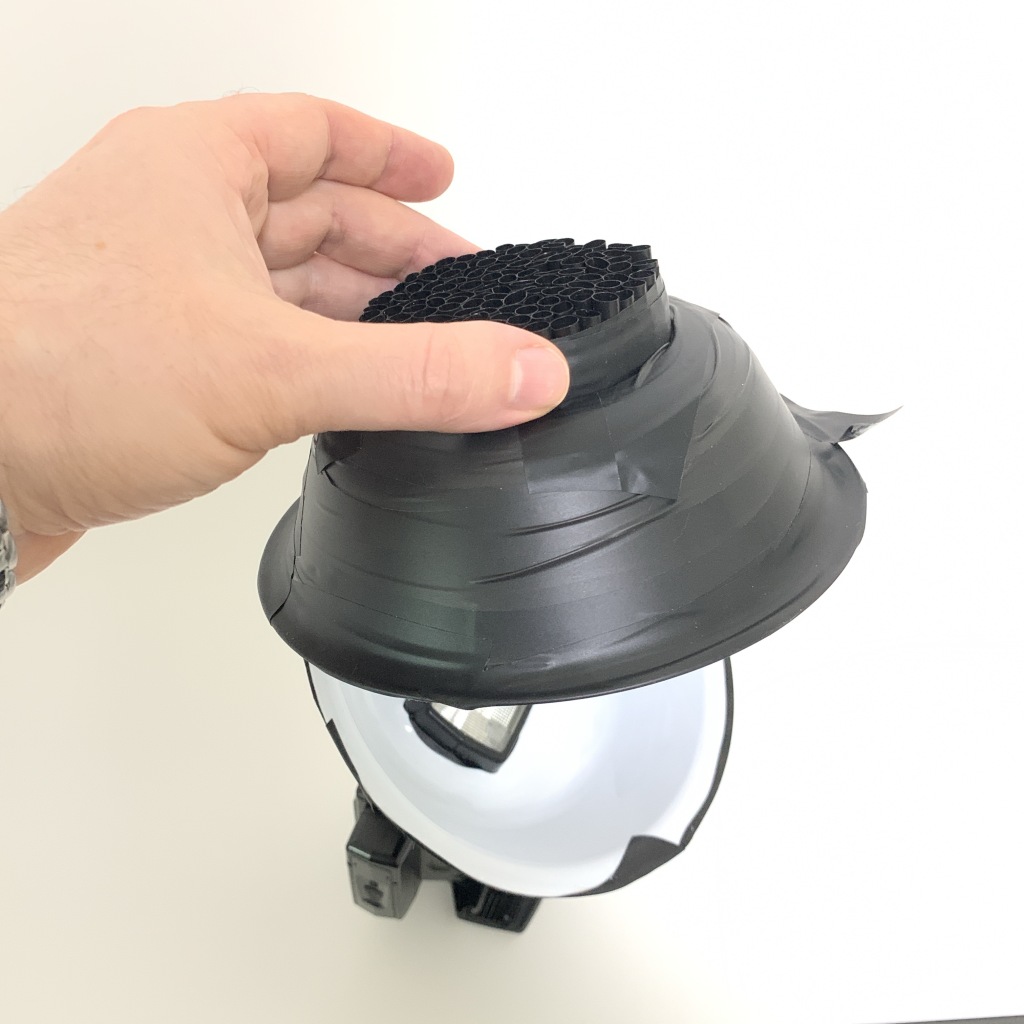
Another change I made to this version was the back of the bowls. On version 1, my mindset was to try to use items that were in my recycling bin as much as I could. This included a thick grey plastic bag that had been used as a postal envelope to cover the back of the white plastic bowls to eliminate light leaks. I thought that the double layer was a bit of an over-kill so I used only one layer. But on the bowl that would be the front of the snoot, I used the black electrical tape that I used to put the straws together into a honeycomb. After shooting, I realized that the black tape blocked out the light, like I wanted, but it was also doing a MUCH better job than the reflecting dish on the back end. So I took off the plastic and taped it, too.


The Test
After testing out the 3 new lighting choices that my wife and I had made, I can say that 1) version 1 helped out a lot in my understanding of what I need, and 2) version 2 is working better than I could have imagined.
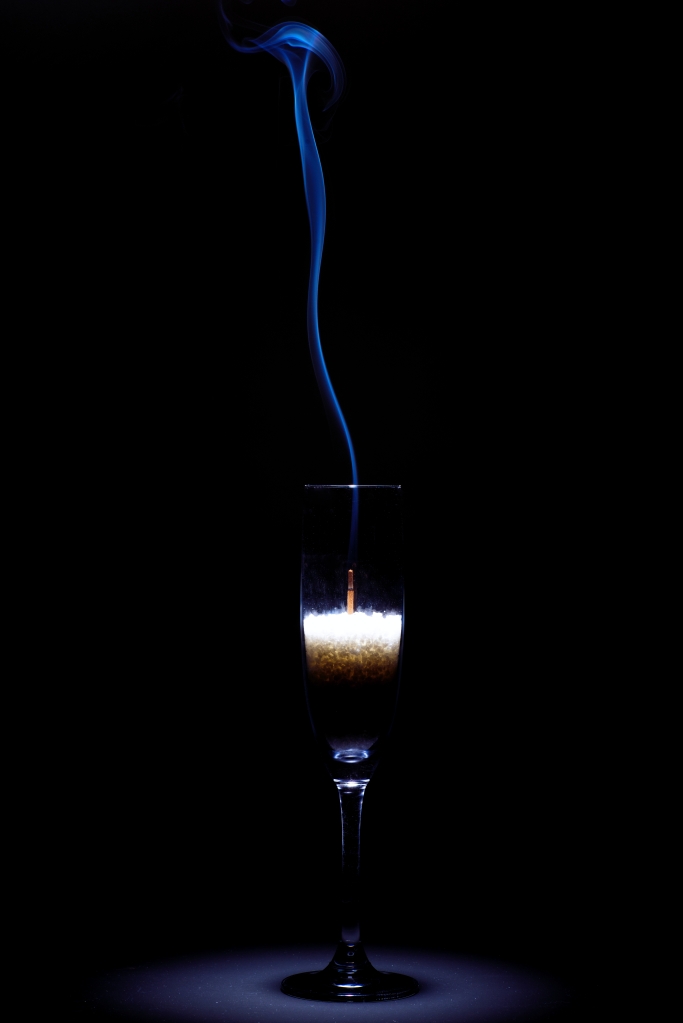
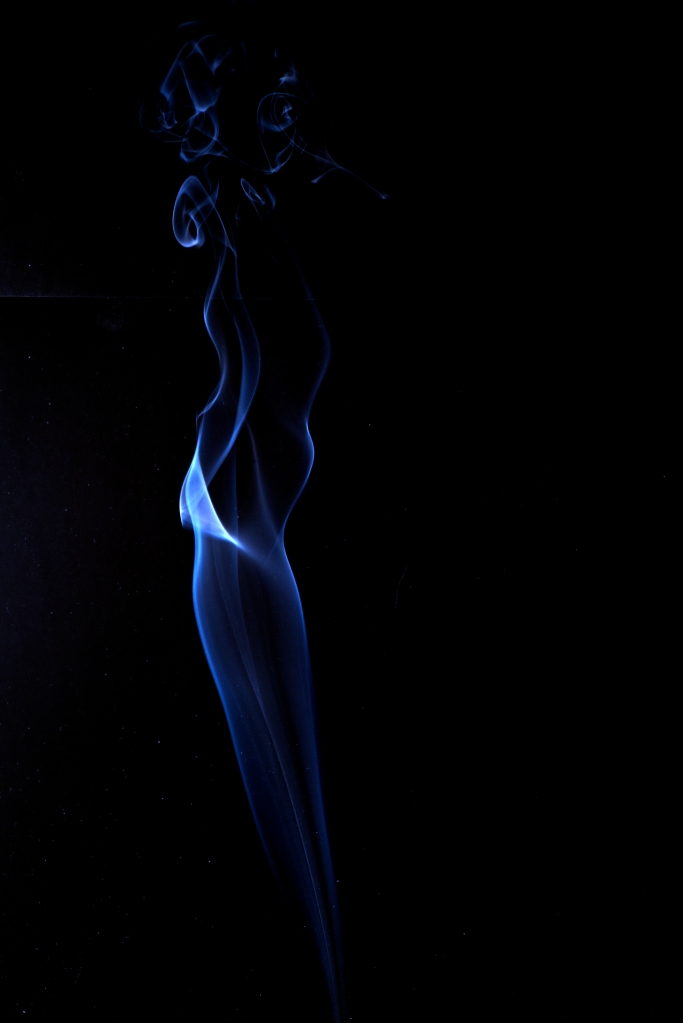
The next step is to start finding different things to photograph. The plants, water, and smoke are great starting points. I think they make for great practice. I think they are also great as exercises from which to build a solid base of fundamentals to expand into more complicated stagings. Stay tuned.
How To…
If you’d like to see how these were done head over to the original issue for the steps to do it yourself. The strip box ended up being a little different. If you’re interested in the steps to the strip box honeycomb, leave a note in the comment section and we’ll post an update!
Stay safe and have fun!

Leave a comment